Hello, Makeup Beginners! Let’s Uncover Some Common Goofs
Hi everyone, John here! Welcome back to the blog where we make tricky topics feel like a friendly chat. Today, we’re stepping away from our usual health and finance news to tackle something a little more colorful: makeup! Whether you’re just starting to explore the world of cosmetics or have been dabbing on lipstick for years, we all make little mistakes. And that’s perfectly okay! The goal is to have fun and feel confident.
Recently, I came across an article that made me smile. It talked about five common makeup blunders that even the pros see all the time. My wonderful assistant, Lila, thought it would be a great topic for us to break down. So, let’s dive into these simple slip-ups and learn some super-easy fixes that will make your makeup routine smoother and more enjoyable.
Mistake #1: Saving Your Eye Makeup for Last
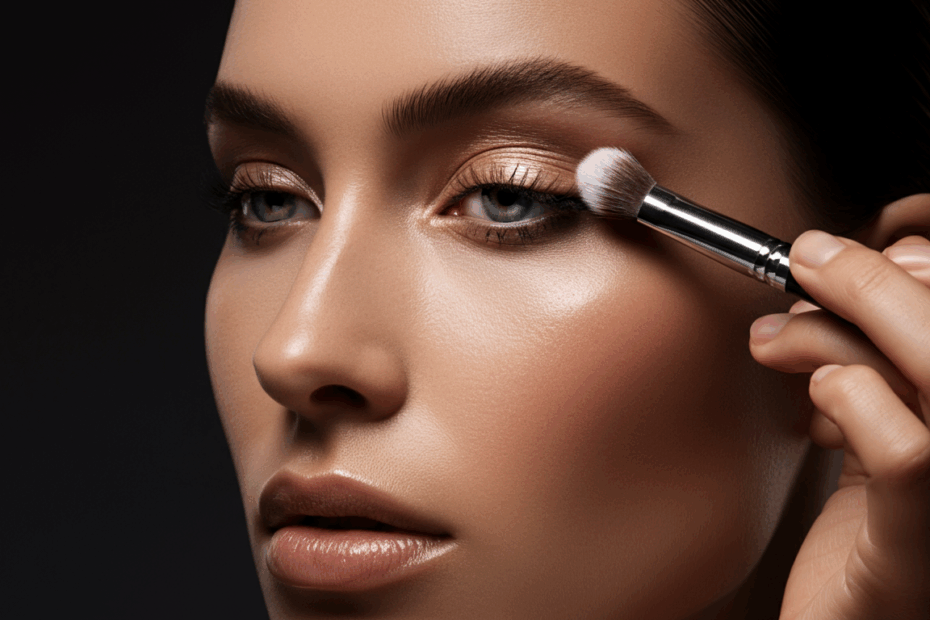
Imagine this: you’ve just spent ten minutes blending your foundation and concealer to create a perfectly smooth, even canvas. It looks flawless. Now, you reach for your favorite shimmery eyeshadow. As you start patting it on your eyelid, tiny specks of dark powder start raining down, dotting your pristine under-eye area. Ugh! Trying to wipe it away just creates a smudgy mess. Sound familiar?
This is probably one of the most common frustrations in the makeup world. Many of us are taught to do our face makeup first—foundation, concealer, powder—and then move on to the eyes. But this order can often lead to a lot of cleanup and frustration, especially when using powdery or glittery eyeshadows.
Lila: “John, I’ve heard people mention this before. What are those little specks of eyeshadow called? Is there a technical term for it?”
John: “Great question, Lila! That pesky shower of powder is called ‘fallout.’ It’s just the excess product that falls from your brush onto your face during application. It’s completely normal, but it can definitely ruin a perfectly good base.”
The Expert Fix: This one is so simple you’ll wonder why you haven’t always done it this way. Do your eye makeup first! Before you even think about foundation, start with your eyes. Apply your eyeshadow, eyeliner, and even your mascara. This way, any fallout can be easily wiped away with a makeup wipe or some micellar water on a cotton pad without disturbing any of your face makeup. Once your eyes are done and the area is clean, you can proceed with your foundation and concealer for a clean, sharp finish. It’s a game-changer!
Mistake #2: The Dreaded Foundation Mismatch
Okay, let’s be honest, who here has bought a new foundation, applied it at home, and then caught a glimpse of themselves in a different light, only to see a stark line along their jaw? Or perhaps your face looks a bit orange while your neck is a completely different color. This is the classic foundation mismatch, and it happens to the best of us.
The lighting in department stores can be very misleading, and a common mistake is testing a new shade on the back of our hand. Your hand is often a different color than your face due to sun exposure, so it’s not a reliable spot to find your perfect match.
The Expert Fix: Finding the right foundation shade doesn’t have to be a guessing game. Follow these simple steps for a perfect match every time:
- Test on your jawline. The best place to see if a color will blend seamlessly is right on your jaw. This area allows you to see how the shade looks against both your face and your neck.
- Swatch a few shades. Pick three colors that look like they could be a good match. Apply them in small stripes right next to each other on your jawline.
- Head for natural light. This is the most important step! Store lighting is notoriously tricky. Step outside or stand near a window to see how the shades look in natural daylight.
- The right one will “disappear.” The perfect shade for you will be the one that blends right into your skin and seems to vanish. It shouldn’t look too pink, too yellow, or too dark—it should just look like your skin, but better!
Mistake #3: Placing Your Blush Too Low
When many of us first learned to apply blush, we were told to smile and apply it to the “apples” of our cheeks. While this isn’t necessarily wrong, applying blush too low on the face can sometimes have an unintended effect: it can visually drag your features down, making you look tired or older.
As we age, our skin loses some of its elasticity, and the placement of our makeup can make a huge difference in creating a fresh, lifted look. The classic “apple” technique can sometimes emphasize this downward pull rather than counteract it.
The Expert Fix: For a more modern and youthful glow, try this method instead. Instead of smiling, keep your face relaxed. Apply the blush to the high points of your cheekbones—that’s the bone you can feel right under your eyes, toward the outside of your face. Then, blend the color upwards and outwards, towards your temples. Think of it as creating a soft, diagonal sweep of color. This simple change in placement creates an illusion of lift, making your entire face look more awake and sculpted.
Mistake #4: Creating “Sharpie” Brows
Eyebrows frame the face, and in recent years, bold brows have been all the rage. But there’s a fine line between “bold and beautiful” and “harsh and artificial.” A common mistake is using a product that’s too dark or applying it with a heavy hand, resulting in eyebrows that look drawn-on, blocky, and unnatural—sometimes lovingly referred to as “Sharpie brows.”
Lila: “I think I know what you mean, John. I see those super-defined ‘Instagram brows’ a lot. Is that what you’re talking about? They look so perfect on camera, but maybe they’re a bit much for everyday life?”
John: “Exactly, Lila! It’s definitely a popular style, and it can be a real art form. But for a soft, everyday look, a more natural approach is often more flattering and, frankly, much easier to achieve. The goal is to enhance your natural brows, not completely redraw them.”
The Expert Fix: To get soft, feathery, natural-looking brows, follow these tips:
- Choose the right shade. Opt for a brow pencil, powder, or pomade that is one shade lighter than your natural hair color. This prevents them from looking too severe.
- Use light, hair-like strokes. Instead of outlining and coloring in your brow, use your product to draw tiny strokes that mimic the look of natural hairs. Focus only on filling in the sparse areas.
- Don’t forget the spoolie! A spoolie (that little mascara-wand-like brush) is your best friend. After applying your product, gently brush through your brows to soften any harsh lines and blend the color for a seamless look.
Mistake #5: Skipping the All-Important Skin Prep
Have you ever applied your foundation only to have it look cakey, cling to dry patches, or slide off your face by lunchtime? The problem might not be your makeup, but what you did—or didn’t do—beforehand. Applying makeup onto skin that hasn’t been properly prepared is like trying to paint a masterpiece on a dusty, unprimed canvas. It just won’t look its best or last as long.
Lila: “You mentioned a ‘primer’ for a canvas, John. I’ve seen makeup primers in stores, but I’ve always wondered what they actually do. Is it a necessary step?”
John: “That’s a fantastic question. A makeup primer is a product you apply after your moisturizer but before your foundation. Think of it as a bridge between your skincare and your makeup. It helps to smooth out your skin’s texture, fill in fine lines or large pores, and gives your foundation something to grip onto, making it last much longer. While it’s not strictly ‘necessary’ for a quick, 5-minute routine, it makes a huge difference in the final look and wear-time of your makeup.”
The Expert Fix: A beautiful makeup application starts with beautiful skin. A few simple skin prep steps will make all the difference:
- Cleanse: Start with a clean face to remove any dirt or oil.
- Moisturize: Apply a good moisturizer suited for your skin type. This hydrates the skin, plumps it up, and prevents makeup from clinging to dry patches. Give it a minute or two to fully absorb.
- Prime (Optional but Recommended): Apply a thin layer of primer to create that smooth base we talked about. There are different primers for different needs—hydrating ones for dry skin, mattifying ones for oily skin, and color-correcting ones for redness.
By taking just a couple of extra minutes for skin prep, you’ll find your makeup applies more smoothly, looks more natural, and lasts all day.
A Few Final Thoughts
John’s Perspective: It’s amazing how these tiny adjustments can have such a big impact. Makeup should be about enhancing your features and having fun, not following a strict set of rules. I think the best takeaway is to work with your unique face and find what makes you feel great.
Lila’s Perspective: I am definitely guilty of the foundation-testing-on-my-hand mistake! I’m excited to try the jawline trick next time I’m shopping. These tips make the whole process feel so much less intimidating. Doing my eyes first seems like it will save me so much clean-up time!
This article is based on the following original source, summarized from the author’s perspective:
Applying Eye Makeup Last + 4 More Common Makeup
Mistakes